Page borders for Google Docs
Google Docs has no page border setting. But a watermark can be a picture, and Docs draws a watermark on every page, behind the text. So a picture of a frame becomes a page border. Here are three, free, with a clear middle.
-
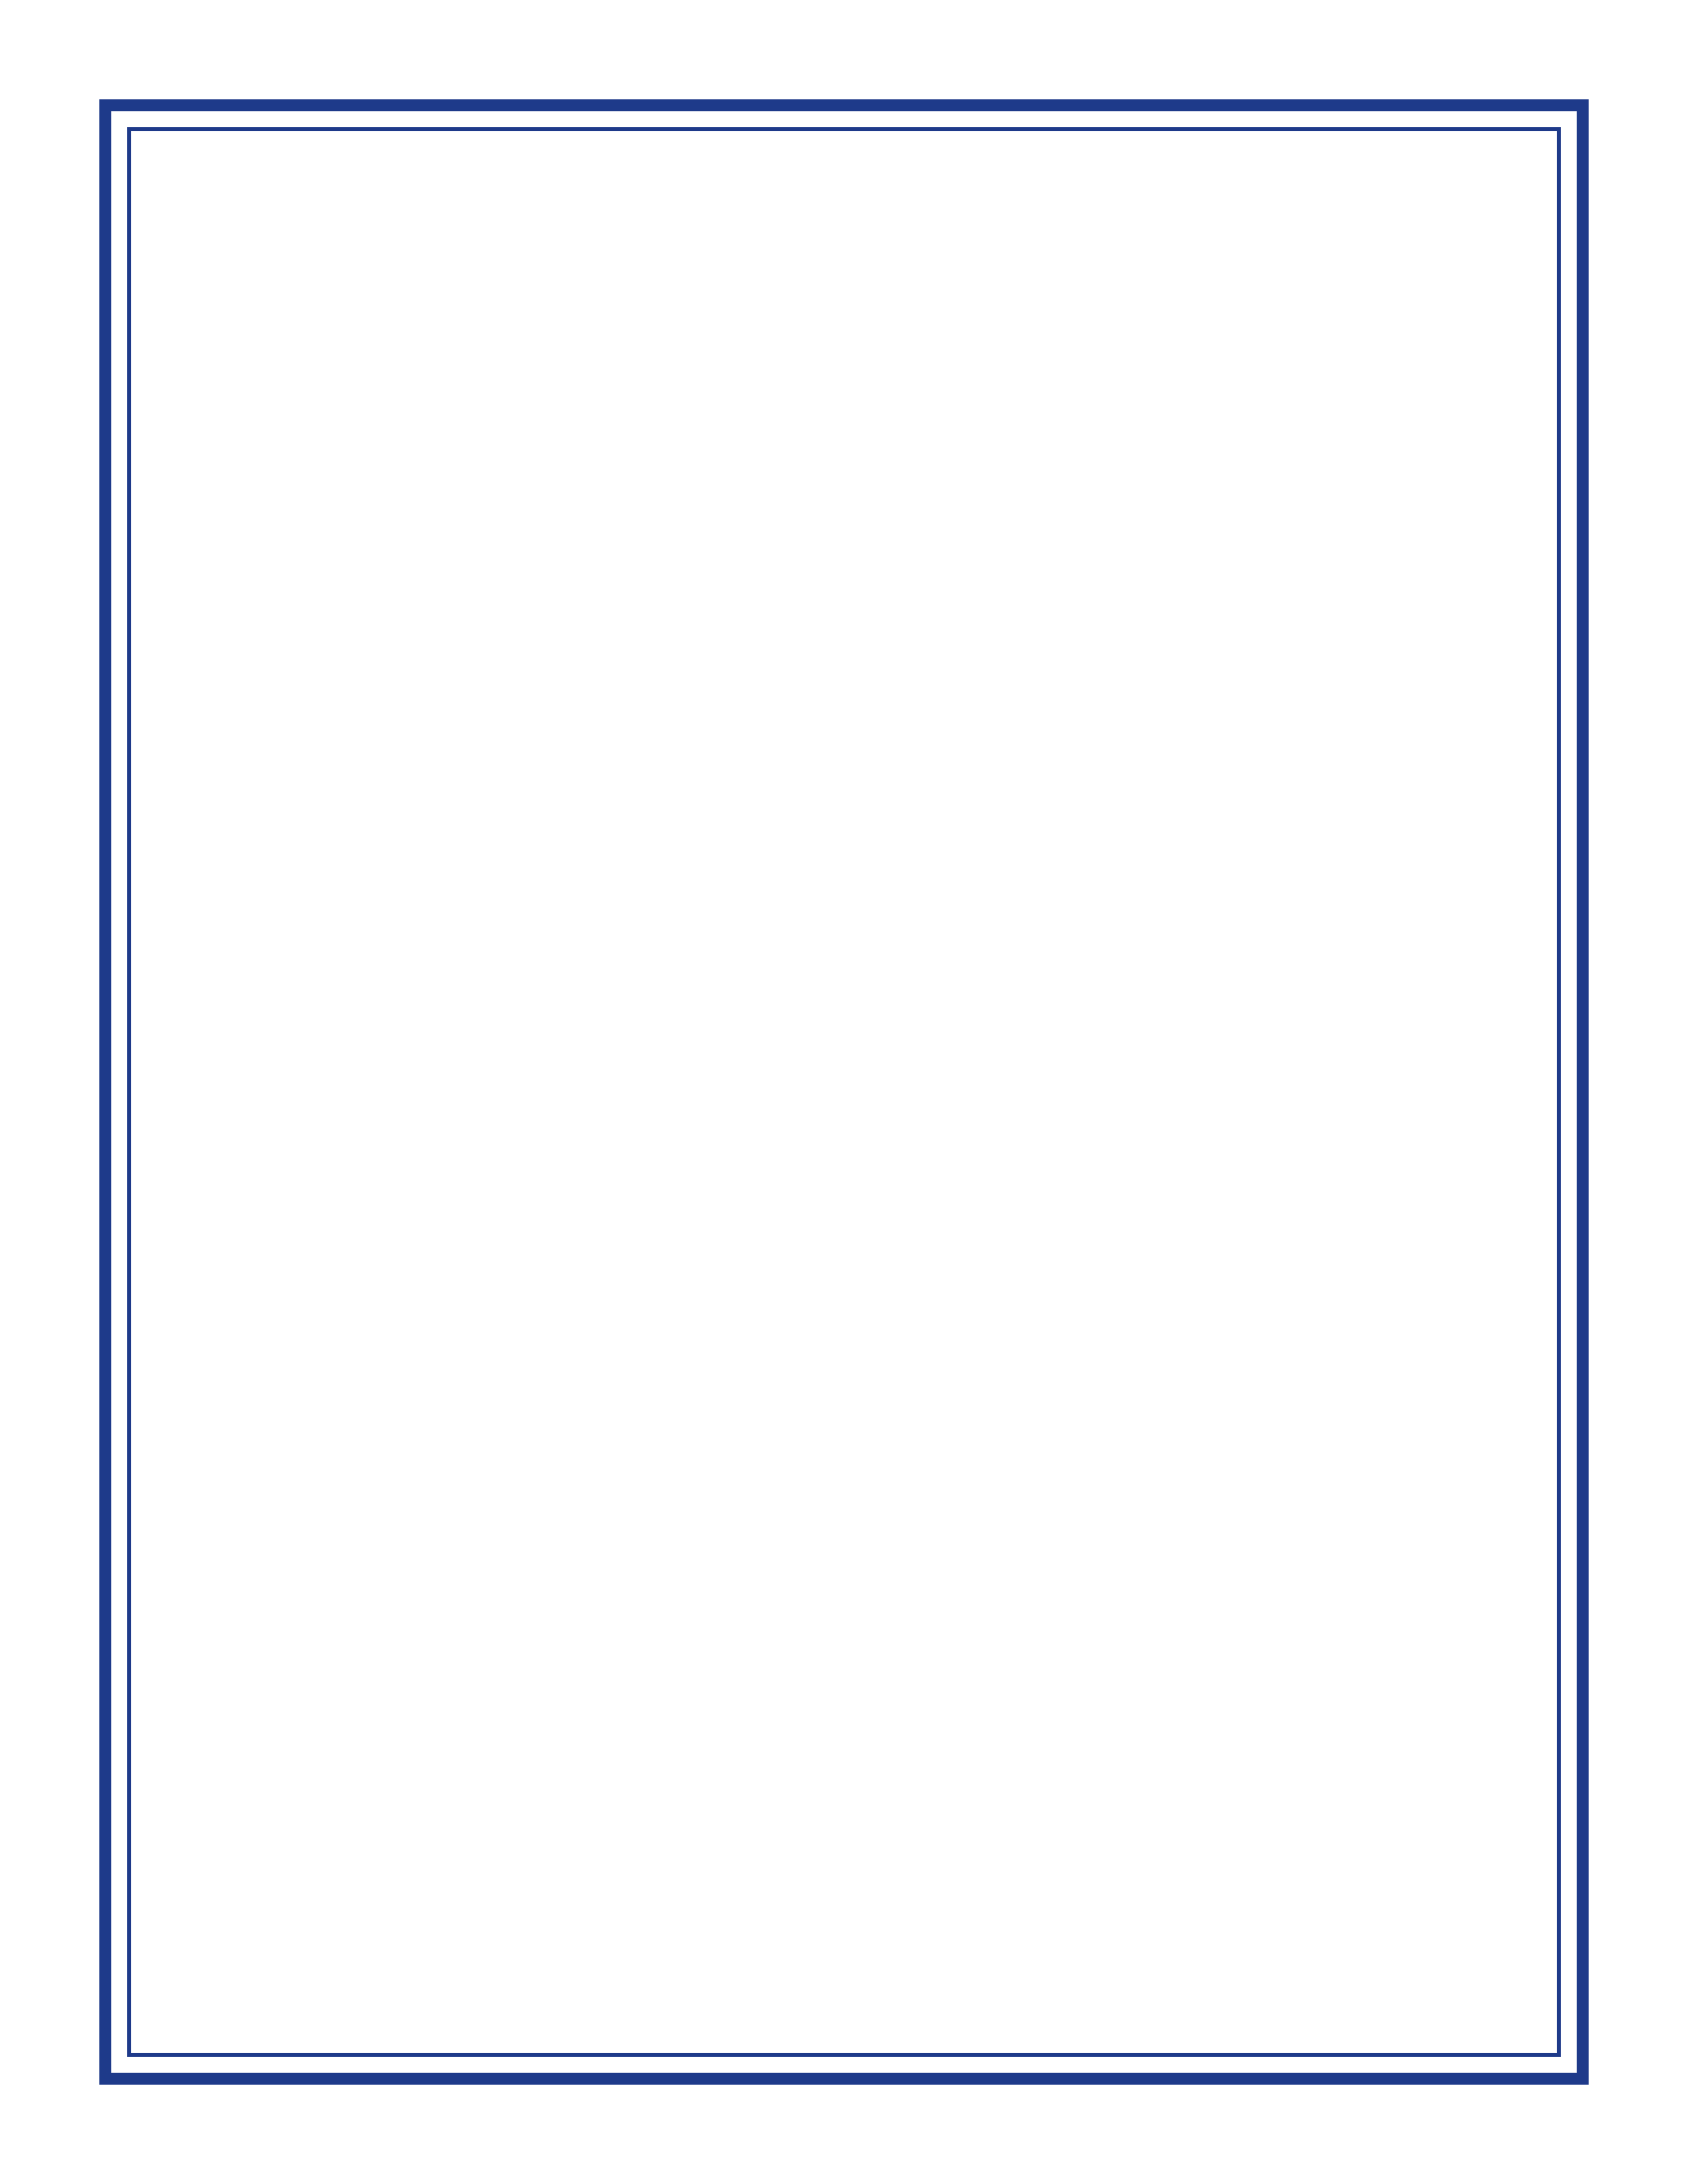
Classic double
Navy, a thick line with a thin one inside.
-

Simple line
One thin black line.
-

Bold
One heavy black line.
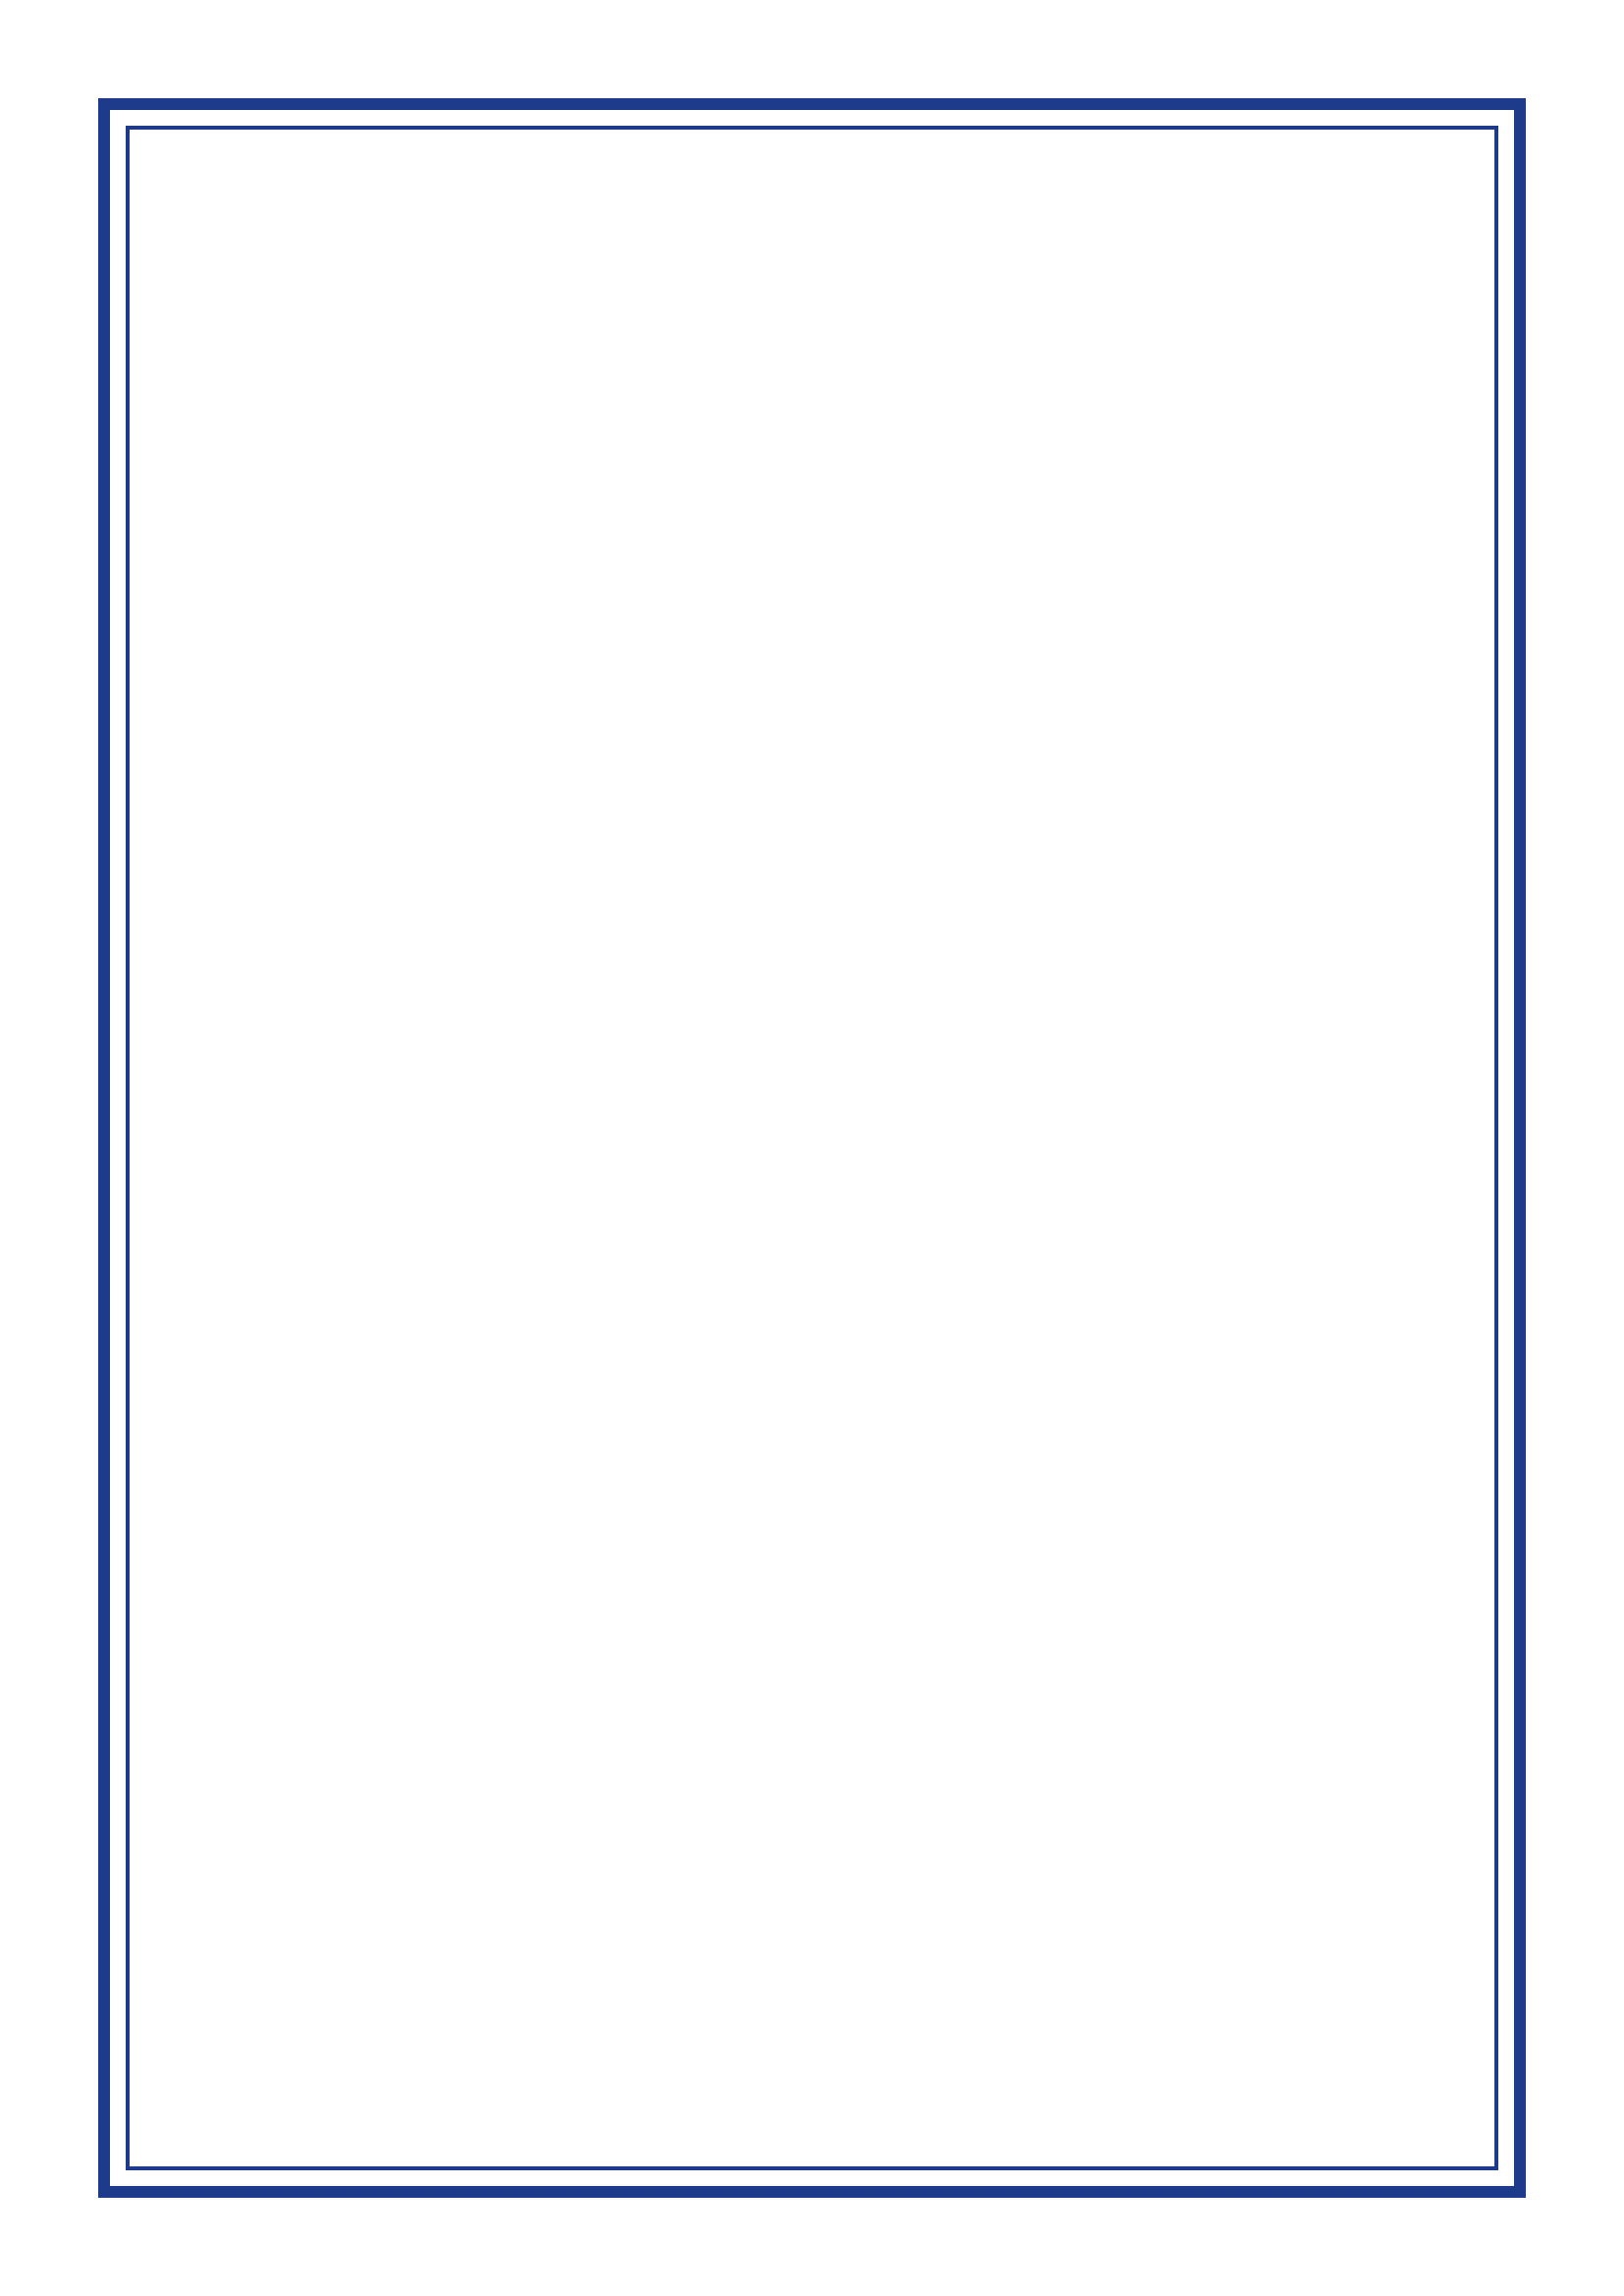


Add it to every page
- Download a border for your paper size. Letter is the US default; most of the world uses A4. Check yours in File → Page setup.
- In your document, open Insert → Page elements → Watermark.
- On the Image tab, click Select image, then Upload, and pick the file.
- Untick Faded, or the border prints pale.
- Click More image options, open Size & rotation, and set Width to 8.5 for Letter or 8.27 for A4. Leave Lock aspect ratio ticked and the height follows (11 or 11.69).
- Close that panel and click Done.
Why it has to be sized
Docs fits a new watermark to the text area, inside the margins: a page-shaped image comes in at 6.5 × 8.41 inches. That runs a pale frame straight through your text. The Scale menu only offers 50, 100, 150, 200 and 500 percent, and none of them is the page. Typing the paper's width in Image options is what makes it fit.
These images are the paper's exact shape, so the width alone is enough. A picture with a different shape would need the lock turned off and both numbers typed.
Things worth knowing
- It stays put while you write. The border is not in the text, so typing, pasting and adding pages never moves it. New pages get it too.
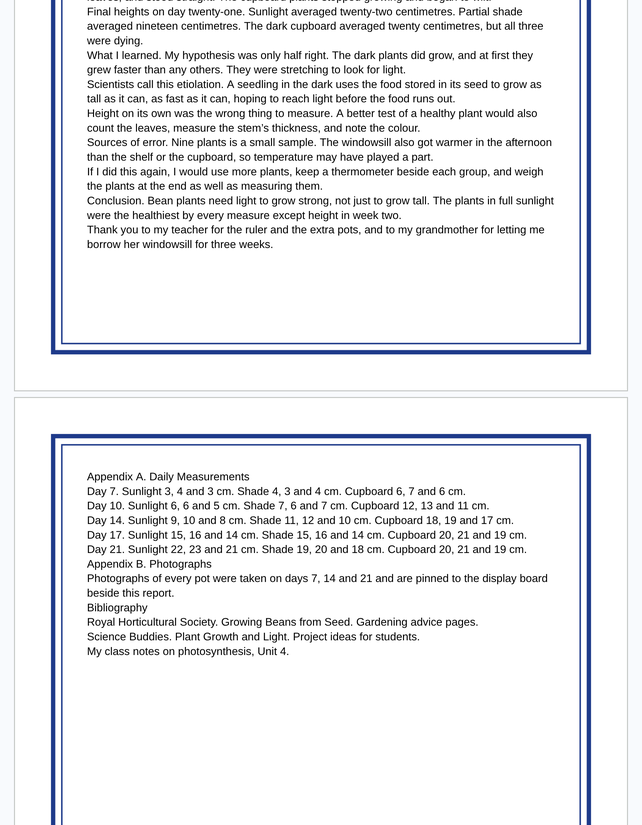
- It exports. Download the document as a PDF and every page keeps its border (checked on the report above).
- One per document. A document has one watermark, so you can't use a text watermark like DRAFT and a border image at the same time.
- Your own design works the same way. Make the image the paper's shape (8.5 × 11 or 210 × 297 mm), keep the middle transparent, and save it as a PNG.
Seeing it done
The channel adds the classic border on camera in How to Add a Page Border in Google Docs.